You installed a brand new, energy-efficient air conditioner expecting your utility bills to finally drop, but instead they keep climbing month after month. This is more common than most homeowners realize, and it rarely means the unit itself is defective. In most cases, the real culprits are hiding elsewhere in your home, from leaky ductwork to poor insulation to overlooked maintenance tasks. Understanding these hidden energy drains can help you stop wasting money and get the cooling performance you actually paid for.
Leaky or Dirty Air Ducts Undermine Efficiency
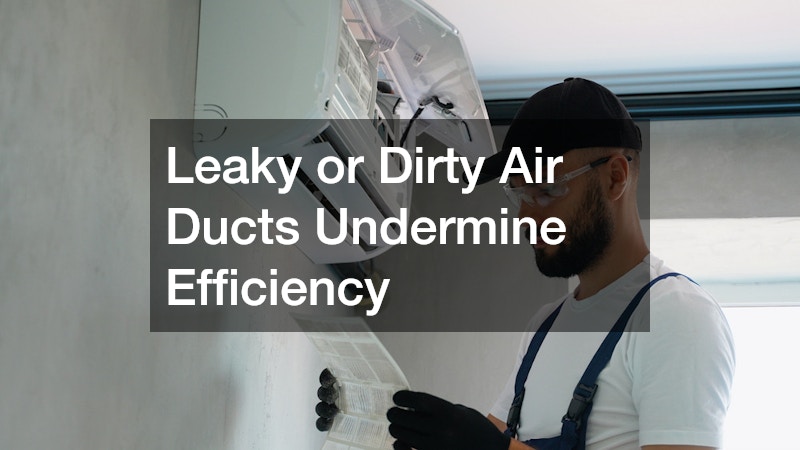
A brand new AC unit can only perform as well as the ductwork that distributes its air. If your ducts have gaps, disconnected joints, or crushed sections, a significant percentage of cooled air never reaches your living spaces, forcing the system to run longer to hit the thermostat setting. Dust, debris, and mold buildup inside the ducts can also restrict airflow and reduce efficiency even further.
Hiring a local duct cleaning company to inspect and clean your ductwork is one of the most overlooked steps homeowners skip after an AC upgrade. Technicians can identify leaks, seal them properly, and remove years of accumulated debris that forces your new system to work harder than necessary. Many homeowners are surprised to learn how much of their cooling capacity was being lost before this simple service.
Poor Attic and Wall Insulation Levels
Even the most efficient air conditioner will struggle in a home that leaks cool air through the attic, walls, and floors. Insulation acts as a barrier that keeps conditioned air inside, and when it is thin, compressed, or missing in spots, your system has to run continuously to compensate. This is especially common in older homes where insulation has settled or degraded over decades.
- Check attic insulation depth against current recommended standards for your climate zone
- Look for gaps around recessed lighting, attic hatches, and plumbing penetrations
- Consider blown-in insulation for hard-to-reach wall cavities
- Weatherstrip doors and windows to reduce conditioned air loss
Roof Damage That Lets Heat Seep Inside
Your roof plays a bigger role in cooling costs than most people assume. Cracked shingles, damaged flashing, or worn underlayment allow heat to radiate into the attic space, which then transfers into living areas below. If your energy bills spiked after a storm or after noticing water stains on your ceiling, scheduling roof repairing work promptly can prevent that heat gain from overwhelming your new system.
Beyond heat transfer, a compromised roof can also let humidity into the attic, which raises indoor humidity levels throughout the house. Higher humidity makes your home feel warmer than the actual temperature, prompting your thermostat to work harder. Addressing roof issues early protects both your comfort and your energy budget.
Overgrown Trees Blocking Outdoor Unit Airflow
Landscaping around your outdoor condenser unit matters more than most homeowners realize. When branches, shrubs, or root systems grow too close to the unit, they restrict airflow around the coils, causing the system to overheat and run inefficiently. In some cases, falling branches or dense overhangs can also damage the unit itself.
If large trees are casting excessive debris onto your equipment or growing dangerously close to your home’s exterior, contacting a tree removal company can be a smart preventative step. Clearing space around your condenser allows it to breathe properly and dissipate heat as designed. This simple adjustment can noticeably improve system performance without any changes to the unit itself.
Improper AC Sizing and Installation Quality
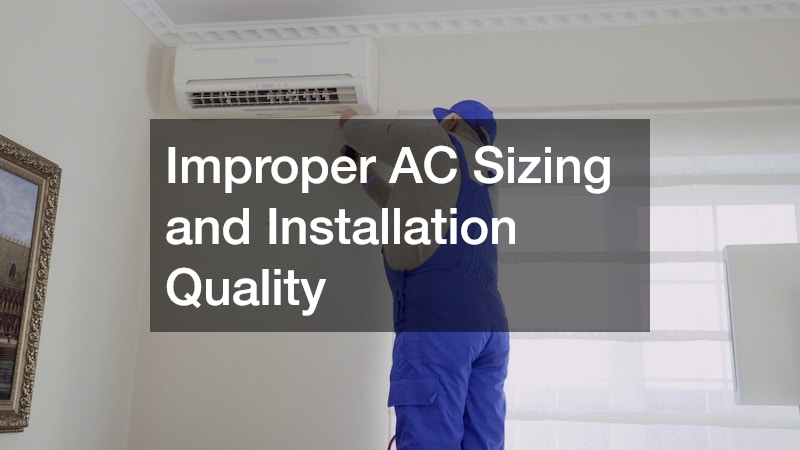
Not all air conditioners are created equal for every home, and an incorrectly sized unit can spike your energy bills regardless of its efficiency rating. Proper sizing depends on a professional load calculation, known as a Manual J calculation, which factors in your home’s square footage, insulation levels, window placement, ceiling height, and even local climate. Many contractors skip this step and instead estimate size based on rough square footage alone, which often leads to a poor match between the equipment and the house.
A system that is too large cools the space quickly but shuts off before properly dehumidifying the air, leading to short cycling and wasted energy. This rapid on-off cycling also puts extra strain on the compressor, which can shorten the unit’s lifespan and lead to costlier repairs down the road. Homeowners in this situation often notice their house feels cold but clammy, since the air never runs long enough to pull out excess moisture.
A system that is too small runs constantly and never quite catches up to the thermostat setting. This forces the unit to work overtime during peak summer heat, driving up electricity use while still leaving rooms uncomfortably warm.
Beyond sizing, installation quality plays an equally important role. Improperly sealed ductwork, incorrect refrigerant charge, and poorly placed thermostats can all undermine even a perfectly sized system, so it’s worth confirming that your installer followed manufacturer specifications and tested airflow after setup.
- Ask for a Manual J load calculation, not just a square footage estimate — it factors in insulation, window placement, and local climate to size the unit correctly
- Watch for oversized units: they cool the air quickly but shut off before removing enough humidity, leaving rooms feeling clammy and driving up runtime cycles
- Verify refrigerant charge levels were correctly set during installation, since even 10% under- or over-charged refrigerant can cut efficiency significantly
- Confirm the ductwork was sized and sealed appropriately for the new unit’s airflow requirements — leaky or undersized ducts can waste 20-30% of conditioned air
- Ask whether the installer tested static pressure in the ducts, as excessive pressure forces the system to work harder than necessary
- Request a follow-up performance check within the first few months to catch issues like uneven cooling, short cycling, or unusually high humidity indoors
A properly sized system is calculated using a Manual J load calculation, which factors in square footage, ceiling height, window placement, insulation levels, and sun exposure. Skip this step, and you risk an oversized unit that cycles on and off too quickly (short cycling) or an undersized one that runs constantly without ever reaching your set temperature. Both scenarios waste energy and put unnecessary strain on the compressor, shortening its lifespan.
Working with experienced local AC contractors ensures the sizing and installation process accounts for your home’s specific layout, insulation, and sun exposure rather than relying on rough square-footage guesses. A rushed or improperly executed installation can quietly sabotage even the most advanced equipment — think undercharged refrigerant lines, poorly sealed ductwork, or incorrect airflow settings that force the unit to work harder than it should. These issues rarely show up as obvious red flags; instead, they surface gradually as creeping utility costs.
Getting a second opinion or a post-installation inspection can catch these issues before they become expensive habits. Ask for documentation of the load calculation, refrigerant charge readings, and static pressure tests, since these numbers reveal whether the system was installed to manufacturer specifications. Catching a mistake within the first few months is far cheaper than discovering it after a year of inflated bills.
Chimney and Fireplace Airflow Gaps

An open or poorly sealed chimney can act like a straw pulling conditioned air out of your home, especially in houses where the fireplace sits near central living areas. Even with the damper closed, gaps and creosote buildup can create drafts that undermine your cooling efforts. This is a surprisingly common energy leak that has nothing to do with your AC unit’s performance.
Scheduling regular chimney cleaning does more than prepare your fireplace for winter use. It also gives a professional the chance to inspect the damper seal and flue for gaps that might be letting cooled air escape during summer months. A properly sealed chimney keeps your HVAC system focused on conditioning your living space rather than fighting against a constant draft.
Pest Infestations Damaging Ducts and Insulation
Rodents, insects, and other pests can cause surprising amounts of hidden damage to your home’s cooling infrastructure. Mice and squirrels often chew through duct insulation and even the sheet metal seams of ductwork, creating gaps that leak conditioned air into attics, crawl spaces, or wall cavities. A single quarter-sized hole in a duct run can waste 10-20% of your system’s cooling output, forcing your AC to run longer to reach the same indoor temperature.
Outdoor condenser units are equally vulnerable. Wasps and ants frequently build nests inside the electrical panel or around the fan motor, which can trip safety switches or cause the unit to short-cycle. Squirrels and mice sometimes chew through the low-voltage control wiring, leading to a system that won’t turn on at all or that runs erratically.
Termites and carpenter ants present a different kind of risk, since they target the wooden framing and wall cavities that house your ductwork and insulation. Compromised insulation loses its R-value, meaning your home gains heat faster in summer and loses it faster in winter, regardless of how new or efficient your AC unit is.
These issues often go unnoticed until energy bills climb or a technician spots the damage during a routine inspection. Warning signs worth watching for include unexplained scratching sounds near vents, a musty odor from the ductwork, visible droppings near the outdoor unit, or uneven cooling between rooms. Scheduling an annual duct inspection, especially if you live in a wooded or rural area, can catch this kind of damage before it turns into a costly repair.
Rodents, insects, and even birds are drawn to the warmth and shelter of ductwork, and they can wreak havoc on your HVAC system in surprisingly short order. Mice and squirrels gnaw through flexible ducting and insulation to build nests, while their droppings and shed fur clog airflow and contaminate the air your system circulates. A single compromised duct joint can leak 20% or more of your conditioned air into the attic or crawlspace, forcing your new AC to run longer and harder just to hit the thermostat setting.
Partnering with reputable pest control companies for periodic inspections can catch infestations before they cause extensive damage to insulation, wiring, or ductwork. Most companies recommend at least an annual inspection, though homes near wooded areas or with a history of rodent activity may benefit from quarterly checks. Look for warning signs between visits, too: scratching sounds in the attic, a sudden spike in bills, or musty odors coming from the vents can all point to unwelcome guests.
Prevention is far less costly than repairing chewed-through ducts or replacing insulation that pests have nested in. Sealing entry points, trimming tree branches away from the roofline, and storing firewood away from the foundation all reduce the odds of an infestation taking hold. This is an easy maintenance item to overlook, but it directly affects how efficiently your new AC can operate.
Foundation and Exterior Wall Cracks
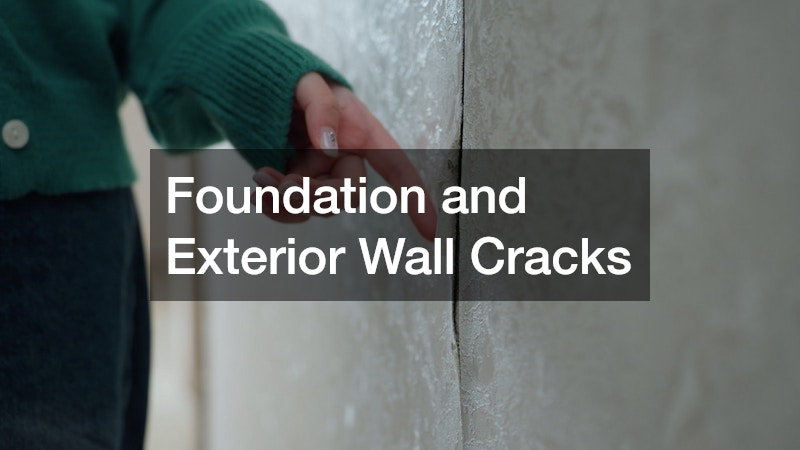
Structural gaps around your home’s foundation and exterior walls can let outside air infiltrate your living space in ways that are easy to miss. If your property has a concrete retaining wall that has shifted or cracked, water intrusion and soil erosion nearby can eventually affect your foundation’s stability and sealing. Over time, these small structural issues create pathways for warm air to enter your home.
Similarly, damaged or aging exterior stucco can develop cracks that let heat and humidity seep into wall cavities. Homeowners dealing with visible cracking or bubbling should consult stucco companies to assess whether the exterior envelope needs patching or resealing. A sound exterior shell keeps your conditioned air where it belongs and reduces the workload on your cooling system.
Driveway and Patio Surfaces That Radiate Heat
The hardscaping around your home can influence indoor temperatures more than you might expect. Dark, heat-absorbing pavement located close to your house or outdoor unit can radiate warmth back toward your walls and equipment throughout the afternoon and evening. This added ambient heat forces your AC to work harder just to maintain a comfortable indoor temperature.
If you are planning an exterior renovation, consulting paving companies about lighter-colored or permeable materials can reduce heat radiation near your home’s perimeter. Additionally, sourcing lighter, reflective stone from a stone supply store for pathways or decorative borders near your condenser can help minimize localized heat buildup. These landscaping choices are a small but meaningful part of an overall strategy to keep cooling costs in check.
A spike in energy bills after installing a new AC unit usually points to a problem outside the equipment itself rather than a flaw in the system. From ductwork and insulation to landscaping and structural gaps, small overlooked issues can quietly erode your cooling efficiency. Take time to audit these areas of your home, starting with the ones most likely to affect your specific situation, and address them systematically. Doing so will help you finally see the energy savings your new investment was supposed to deliver.